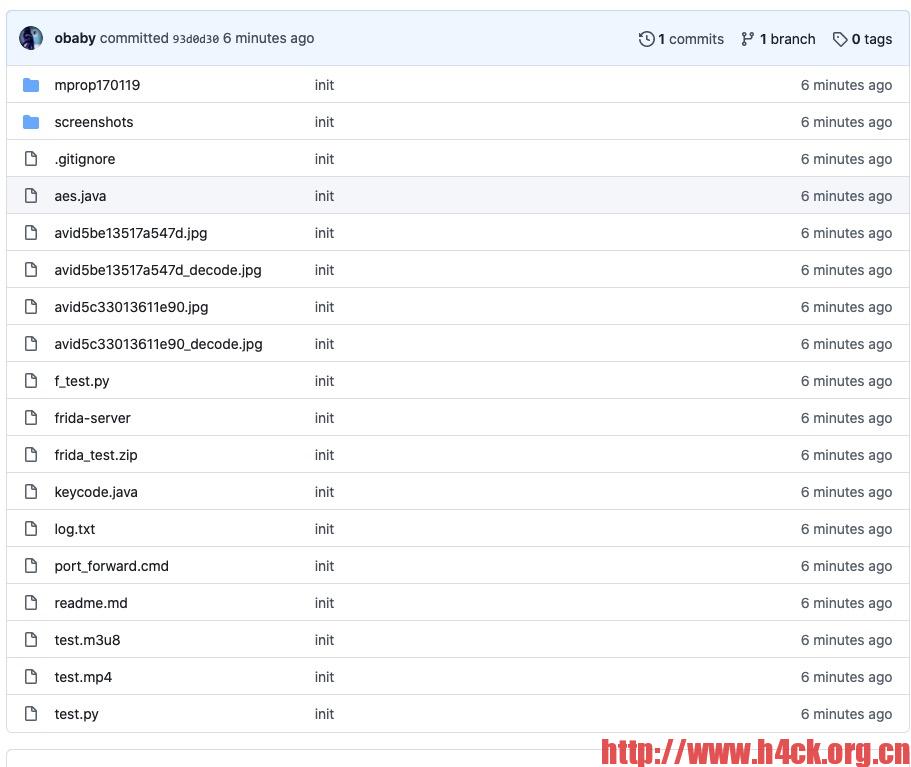
相关代码文件,工具已经全部包含:https://github.com/obaby/porn-app-reverse
黑客程序媛 / 逆向工程师 / 人工智能学徒 / 用爱发电的独立开发者
支持彩云天气,和风天气,需要注册开发者账号之后添加apikey之后才能使用。
彩云天气:https://open.caiyunapp.com/
和风天气:https://dev.heweather.com/
支持信息:
安装方法:
- 下载zip之后解压缩,放入Domoticz/plugins目录下,重启服务端。去网页端添加硬件即可。
- 切换到插件目录下,git clone https://github.com/obaby/baby_weather_plugin 重启服务端。去网页端添加硬件即可。
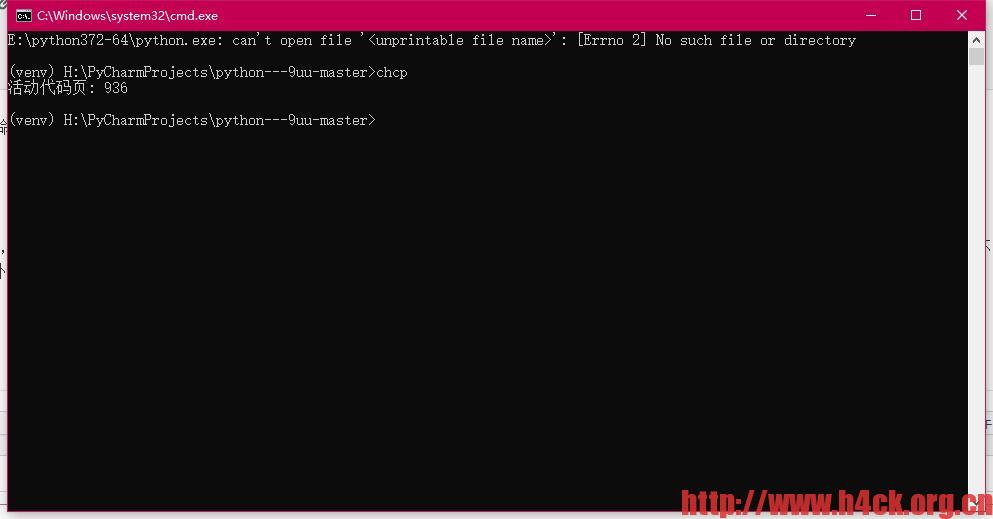
尝试从cmd或者bat中执行带有中文路径的命令时就可能会得到标题中的错误:can’t open file ‘<unprintable file name>’: [Errno 2] No such file or directory。例如下面的代码:
cd /d H:\PyCharmProjects\spider
call H:\PyCharmProjects\spider\venv\Scripts\activate
python "超碰视频\chaop.py"
出这个错误的关键是unprintable file name,而不是文件不存在,当命令执行完成之后,如果直接在终端中再次运行最后一条命令其实是可以执行的。所以要解决这个问题一个办法是不要使用非英文目录或者文件名。除此之外还有另外一个办法,修改cmd的编码,默认的cmd编码是936,通过chcp命令可以查看修改编码:
如果要想bat中的命令能够成功执行,在文件开头加上 chcp 65001即可,修改后如下:
chcp 65001
cd /d H:\PyCharmProjects\spider
call H:\PyCharmProjects\spider\venv\Scripts\activate
python "超碰视频\chaop.py"

github上关于微信公众号文章的爬虫还是蛮多的,一搜一大把。基于各种技术,这里分享的是之前的做的基于selenium实现的方法。
要爬取的公众号列表修改wx_account.py下的内容
微信公众平台账号登录修改baby_wx_post_spider.py下的如下代码:
username='root@obaby.org.cn'# 账号
password='********'# 密码
如果要存储数据修改如下代码:
# add_wx_post(post_title, post_date, content, html_content, pcs, images_link_text, post_url, "2"
#             wx_account, nickname, wx_intro)
print('在此处更新数据库')
登录方式说明:如果不指定账号密码可以直接扫码登录,但是扫码之后需要输入密码,反而更麻烦。
输出日志:
H:\PyCharmProjects\baby_wx_spider\venv\Scripts\python.exe H:/PyCharmProjects/baby_wx_spider/baby_wx_post_spider.py
****************************************************************************************************
Wechat Post Spider System
By:obaby
http://www.h4ck.org.cn
http://www.obaby.org.cn
http://www.findu.co
****************************************************************************************************
[*] System starting ..................
[*] Try to login with username:obaby.lh@163.com Password: ***************
[*] Please scan the qrcode to continue
[*] Scan the QRCode with your cell phone to login!!
[*] Spider starting.....................
[*] Current Wechat account is:
青岛文旅
[*] all passed!
[*] Link:http://mp.weixin.qq.com/s?__biz=MzU0NTc4OTI5MQ==&mid=2247490126&idx=1&sn=29a88b4ceef1cdbd6584702fdd46112a&chksm=fb66de4acc11575c946e802cb475845d7ff540d5a0d6da23834c0c4caa27bd3c3b7c2dd762e6#rd
在此处更新数据库
[*] Link:http://mp.weixin.qq.com/s?__biz=MzU0NTc4OTI5MQ==&mid=2247490126&idx=2&sn=87724f394f1533a23f50e5fddf7c88c1&chksm=fb66de4acc11575cb5c3a610371936a14f2743916b332f0bea3a3edc63dc2648351b386a0b95#rd
在此处更新数据库
[*] Link:http://mp.weixin.qq.com/s?__biz=MzU0NTc4OTI5MQ==&mid=2247490126&idx=3&sn=a9a3992058f069149102ea0fd9dae0b4&chksm=fb66de4acc11575c2c0ef3afe8c5de6c2e8b432c1b3d6c3e8d69f5cb439a85962517b147ee8b#rd
在此处更新数据库
项目地址: https://github.com/obaby/baby_wx_post_spider
PS: 代码如果发现bug,请自行修改!由于微信后台一直变化,所以如果代码不能运行,重新定位相关的元素更新xpath即可

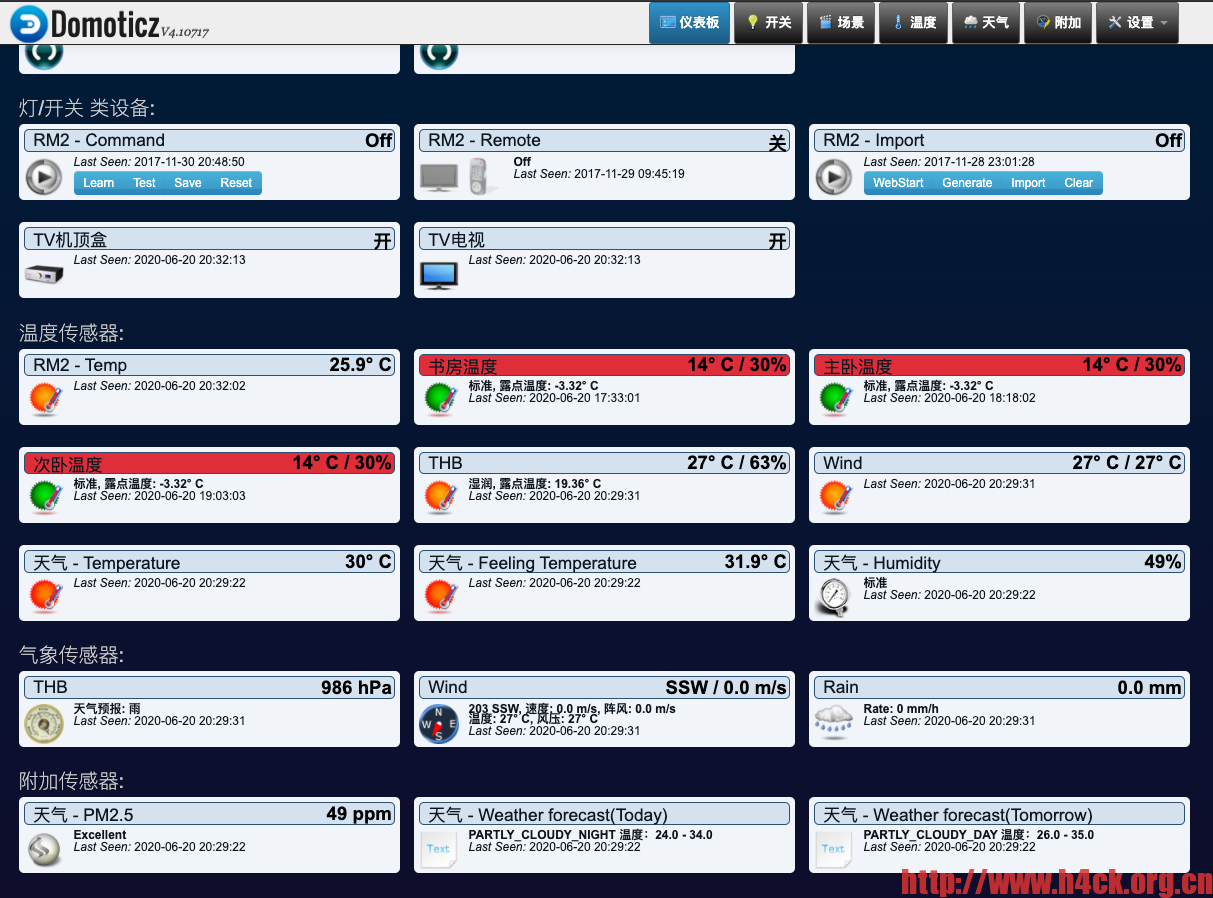
每次异常断电树莓派就挂了,之前以为是读写问题,这次停电前主动关机,然后,tm依然挂了。用fsck修复,无数的错误,修复完没有效果。于是重装,重装之后主要就是重新弄好domoticz的博联插件,于是就折腾了一番,把插件的问题进行了修复。
插件原始的wiki页面http://www.domoticz.com/wiki/plugins/BroadlinkRM2.html,已经无法访问了。 并且网上随便一搜,关于这个插件的文章都是四年以前的。新的内容基本没有,我不是插件的原始作者,只是进行了修改和完善。 感谢原作者开发的插件。 虽然一直在用这个插件,但是这个插件配置起来却一点都不轻松,插件依赖于broadlink库。 而这个库在树莓派上安装的时候,虽然能安装成功。但是安装 成功之后多数时间会找不到这个库,从而导致插件启动失败。
插件项目地址:
https://github.com/mjg59/python-broadlink 看项目简介现在已经支持Broadlink RM2, RM3 and RM4 series controllers 。
其实要解决库找不到的问题也简单,不要用pip之类的安装。直接将python-broadlink的broadlink目录拷贝到BroadlinkRM2目录下就可以解决这个问题。
插件进行库搜索的时候会搜索当前插件目录下的库,所以没有必要安装之后再去进行拷贝。 我这里集成的是旧版本的python-broadlink库,如果需要可以替换为新版的库。新版本我没有测试,如果测试ok可以提交个补丁进行说明。
为什么要说iOS的签名呢?现在移动平台的逆向的教程和书籍已经相当多了。针对签名的文章也很多,我这里想说的一些是可能别的地方看不到的比较细微的内容(虽然都是老黄历~~)。
iOS的签名目的其实也比较纯粹,就是为了能够在不越狱的情况下安装破解版的ipa。当然,如果是各种助手的话还有另外的一个目的,那就是应用分发(更重要的是在分发之前加入自己的广告sdk)。
说到iOS的应用分发其实主要方式有如下几种:
在ipa安装的过程中并不会校验设备上有没有授权信息,只有到运行的时候才会校验授权信息。此时如果没有授权 那么会弹出要求输入用户名和密码的弹框。